Thinking about adding clean energy at home? Many homeowners take time to learn the basics before they start. A quick inspection and good research cut risk and make the process smoother.
Proper work matters. When trained installers set up modules and mounting hardware, permanent harm to your roof is rare. A qualified installer checks structure, weight limits, and attachment points first.
Small mistakes like drilling in the wrong spot can cause leaks, so follow each safety step. If you want help, see our services to connect with experienced teams who protect your home and energy system.
Understanding the Reality of Solar Panel Installation Roof Damage
Many homeowners worry that adding panels will harm their shingles, but the reality is more nuanced.
When equipment is properly installed, it often shields shingles from sun and heavy weather. Most cases of roof problems trace back to poor work, not the system itself.
Reputable companies back that claim with warranties. For example, Palmetto Protect offers a 5-year roof penetration warranty to cover leaks or issues tied to penetrations.
| Concern | Reality | Protection |
|---|---|---|
| Panels damage roof | Rare when mounts are sealed and flashed | Certified installers and warranties |
| Holes roof cause leaks | Only if penetrations are poorly sealed | Proper flashing, sealant, and inspection |
| Weather and water risk | Panels can block UV and hail exposure | Quality mounting and routine checks |
| Long-term system safety | Designed for decades of use | Choose a trusted company and warranty |
- Hire certified installers to cut risk of leaks.
- Look for a clear warranty on penetrations and water entry.
- Have the mounting checked after severe weather.
How Professional Installation Protects Your Home
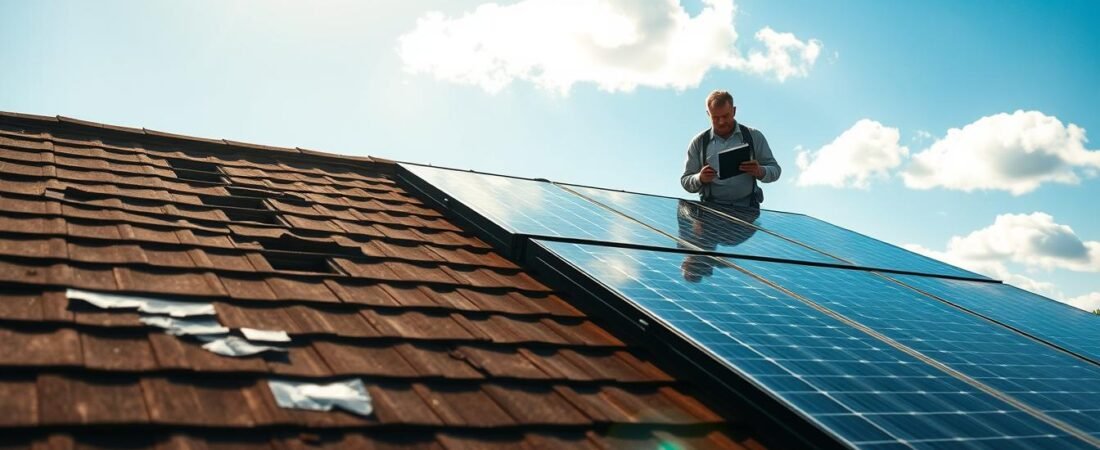
A detailed inspection helps installers find weak spots before any hardware goes on. That first step sets expectations and avoids surprises during the work.
The Role of Proper Inspection
A trained crew inspects structure, shingles, and framing. They note rot, age, and load limits.
Pre-checks also ensure the system will sit where it causes no future leaks or strain.
The EnergySage Solar Marketplace pre-vets pros so homeowners get qualified teams who care for existing coverings.
Why Permits Matter
Permits enforce local codes and reduce risk. Approved plans mean the work meets safety rules and insurance needs.
Proper permits protect warranties and make repairs or resale easier later. Many experts note a solar system can last 25 to 35 years when panels are properly installed.
| Step | Benefit | Who handles it |
|---|---|---|
| Pre-install inspection | Finds weak spots; avoids leaks | Pre-vetted installers |
| Permitting | Meets local codes; protects warranty | Company or installer |
| Quality flashing & sealant | Prevents holes from causing leaks | Professional crews |
To connect with vetted pros and learn more about building a quality online presence for your energy business, visit creating a professional website for UrbanSun.
Managing Roof Penetrations and Mounting Hardware
Weatherproofing starts at the attachment point and ends with careful sealing and testing. Proper anchoring keeps the array secure and prevents water entry over time.
Sealing Techniques for Weatherproofing
To secure solar panels installed on your roof, crews drill precise holes into rafters and attach mounts.
Professional teams install flashing and use high-grade sealant to make each penetration waterproof.
Mounting hardware is typically set every four feet, which spreads the load and keeps the system stable.
When mounts are aligned with rafters, the anchors reduce stress on shingles and framing.
- Use metal flashing under shingles to divert water.
- Apply polymer sealant and allow full cure before testing.
- Inspect after storms to spot any emerging leaks early.
| Focus | Technique | Benefit |
|---|---|---|
| Hole placement | Align with rafters | Stronger anchor; fewer repairs |
| Flashing | Layered metal or molded boots | Blocks water and wind-driven rain |
| Sealant | Polymer or polyurethane | Long-term waterproofing |
| Spacing | Mounts every 4 ft | Even weight distribution |
Proper sealing of mounting points is the critical step in the installation process.
Done well, the mounting systems act as secure anchors and keep your home protected from weather and water for decades.
Essential Steps to Prevent Future Issues
A clear plan and a trusted crew stop small problems before they grow into costly fixes. Start by hiring licensed installers who document structural checks, fastening methods, and warranty coverage.
Working with Licensed Installers
Licensed teams follow codes and provide proof of training. Ask for references and photos of past work.
Confirm the contract includes a comprehensive warranty that covers equipment and roof integrity.
Schedule the final inspection with the original installer to verify everything was left secure.
Installing Critter Guards
When panels are mounted, adding critter guards prevents nesting under arrays.
These guards stop birds and rodents from chewing wiring or piling debris near mounts.
A small guard now reduces the chance of costly repairs later.
Regular Maintenance and Debris Removal
Keep gutters and the area around mounting hardware clear of leaves and sticks.
Routine cleaning helps the system run well and prevents trapped moisture.
Homeowners should set periodic checkups with their installer to catch issues early.
For step-by-step prep guidance, see prepare roof for solar installation steps.
Alternative Solar Solutions for Sensitive Roofs
Not every home needs fixed mounts to benefit from clean energy. Portable and ground systems let you harvest power without drilling or heavy anchors.
Portable generators like the EcoFlow DELTA 3 Series (PV220W) offer 1–5 kWh capacity and 2200W output. They deliver usable backup power and charge from small panels without any permanent changes to your home.
For flat or fragile surfaces, ballast mounting systems secure arrays with weight instead of fasteners. That approach avoids holes roof penetrations and lowers the chance of leaks or structural strain.
- Choose portable units to skip permanent work and lower upfront costs.
- Consider ground-mounted setups if you have yard space.
- Use ballast mounts on flat areas to protect shingles and framing.
These options reduce the risk that panels damage roof surfaces and let you enjoy renewable energy with minimal long-term impact. They also cut many of the usual costs tied to full rooftop installation.
Final Thoughts on Protecting Your Roof Investment
A well-planned upgrade starts with choosing pros who put long-term roof health first. Hire licensed installers and confirm the company documents inspections, fastening methods, and a clear warranty.
Correctly fitted solar panels installed will not harm your covering and can even shield sections from sun and hail. Ask your installer about a roof penetration warranty and routine maintenance plans.
Before you commit, learn more about warranties and risk at does solar damage your roof. With a trusted installer, good upkeep, and careful planning, homeowners can enjoy clean energy, long-term savings, and peace of mind.